
In my previous blog article on the Humpback Whale from Tofino, I mentioned that the whale’s skeleton was cleaned with a combination of mechanical removal of meat, and then it matured in a mixture of soil and aged manure.
A few weeks ago I found a perfect skull in one of my garden compost bins. It came from one of the Norway Rats that I caught this summer. I actually set a mine-field of rat traps in the compost to get those few rats that try to raid the bin for kitchen scraps. If they set off one trap, they generally jump land on another trap. People say not to throw meat in a compost, but we don’t notice any smell from few rats we toss in the compost each year.
Compost – who knew it was so versatile. It fertilizes your garden, but it can help you prepare skeletons.
There are a few animal skeletons you probably can possess without a wildlife permit – Grey Squirrels and Norway Rats, Rock Pigeons and perhaps deceased pets (Gerbils, Hamsters, etc.). If you want to prepare skeletons it’s a fairly simple process.
Let’s assume you are preparing a Grey Squirrel. It is messy at first. You skin it, and remove most of the meat (and guts). Don’t bother trying to remove the brains – they’ll rot away. Make a long flat bag out of standard window screen (or some finer mesh) – and staple that around the stripped carcass so that the bones will be held in place once the connective tissue is gone. The screen also prevents scavengers from scattering bones.
The red dots around this Wall Lizard show where I’d staple or pin together the mesh to hold the bones in place.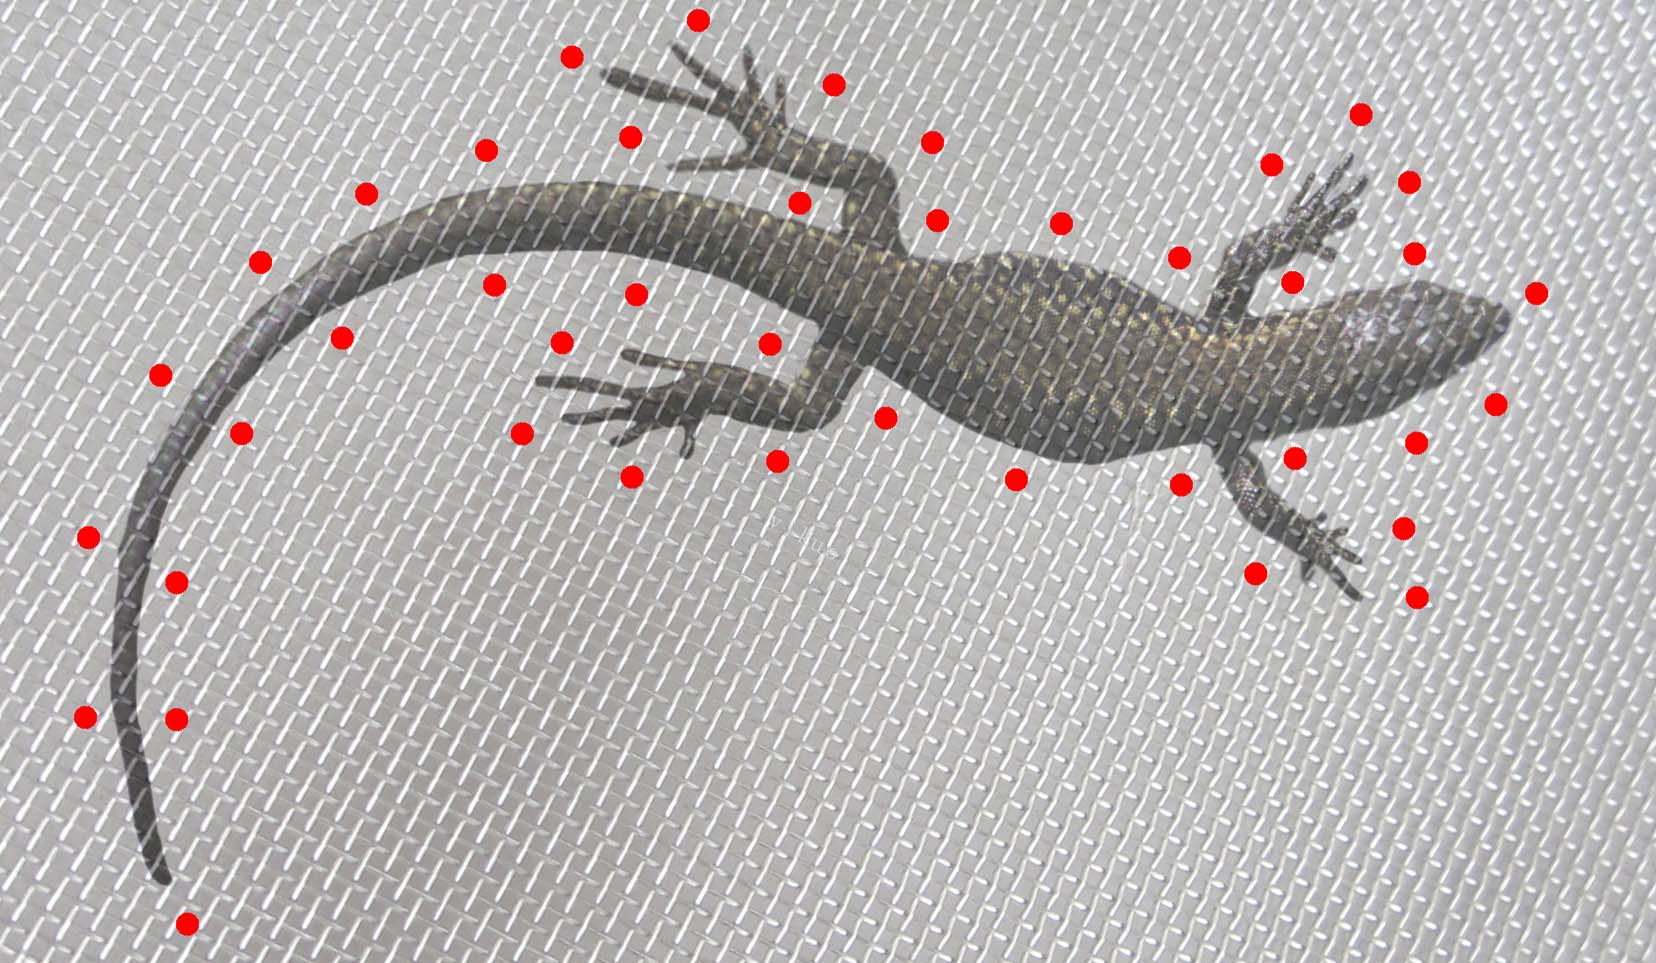
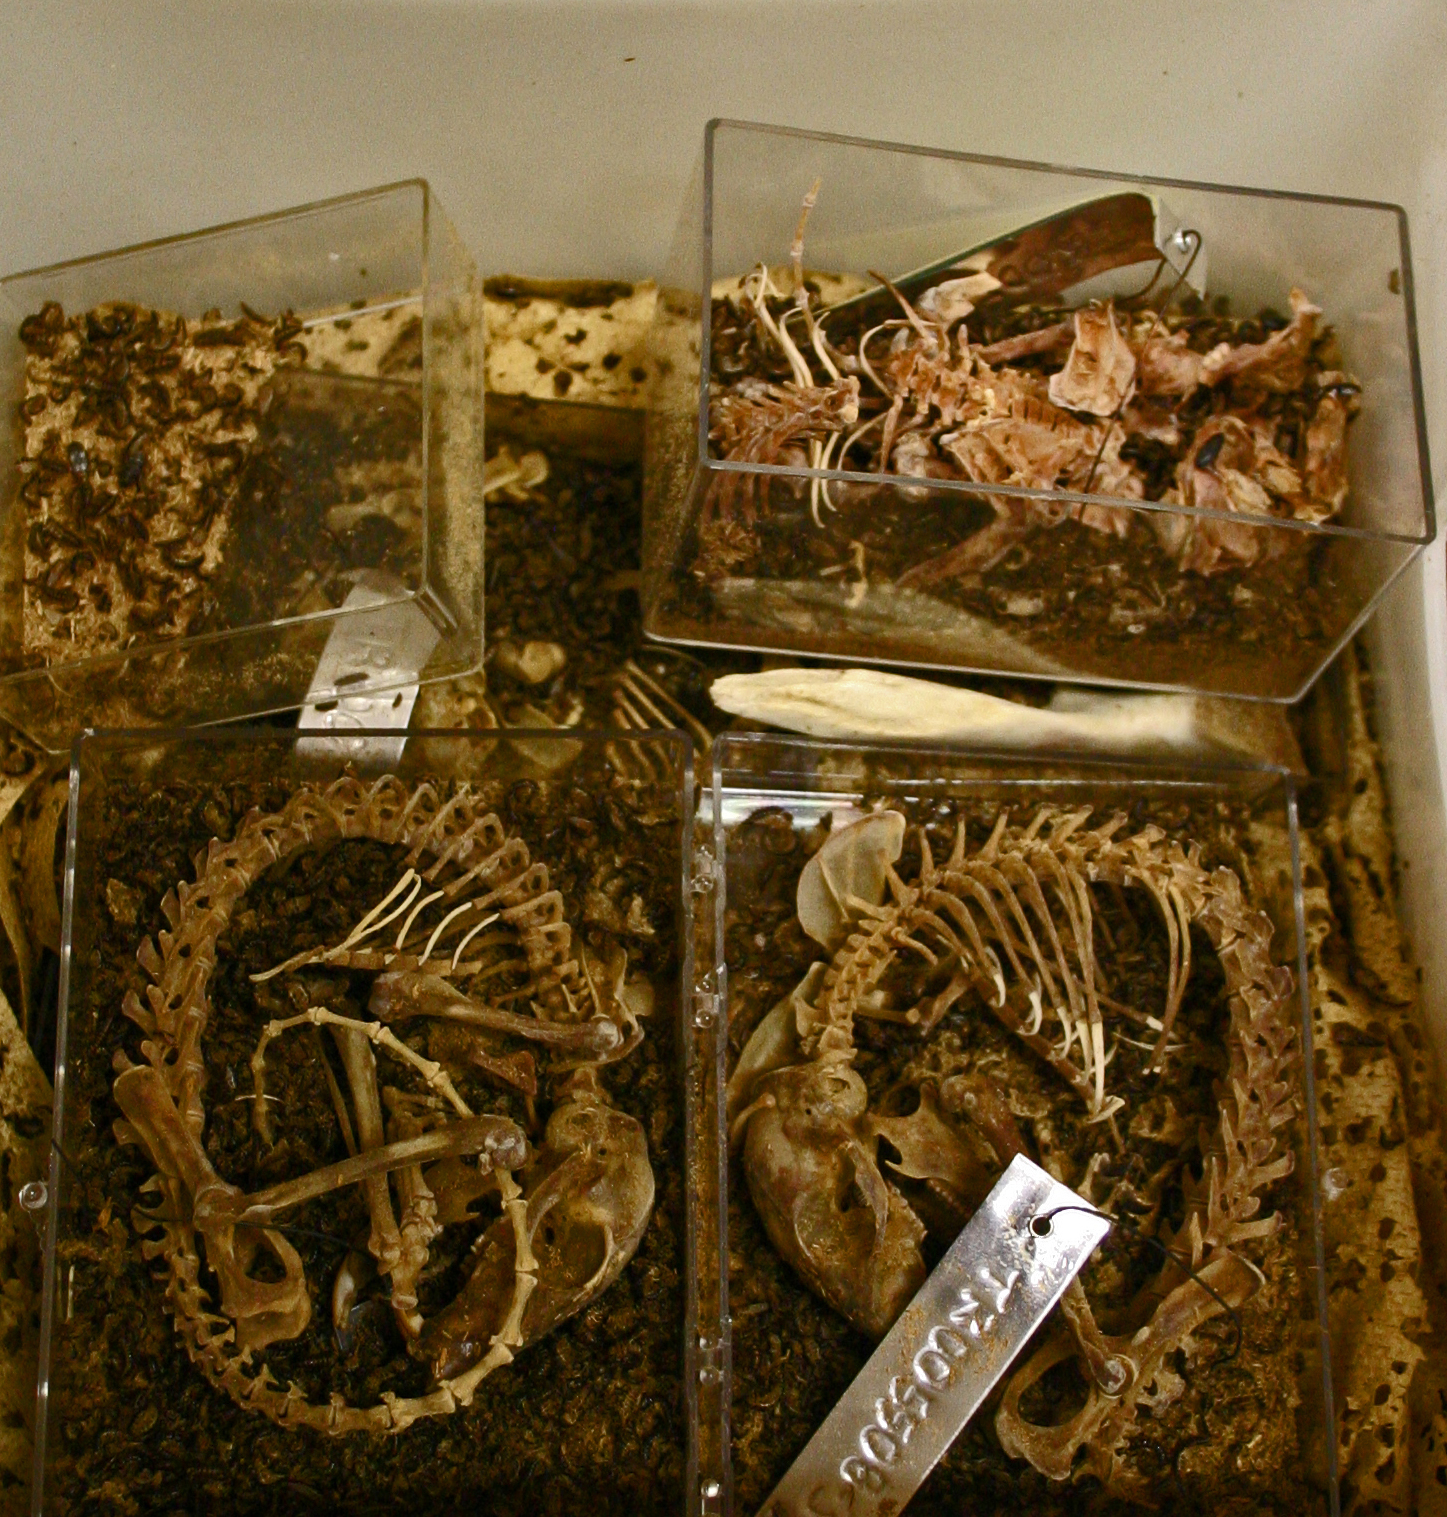
Place the carcass in its screen bag in a shallow tray (the plastic trays you get from Garden centers are perfect) with a mixture of aged manure and soil.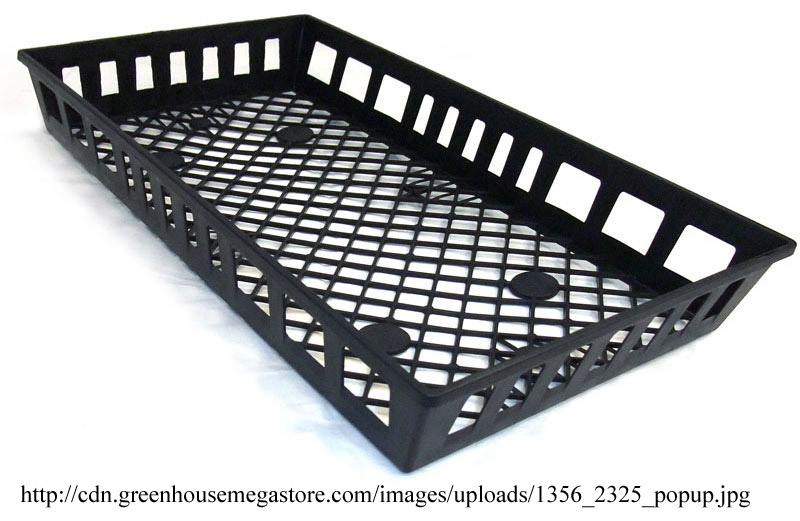
Let it sit for a few months. If that tray with the carcass/manure mix is on top of the contents of your compost bin, it should keep the temperature and humidity just right. Check periodically to make sure the soil is fairly damp.
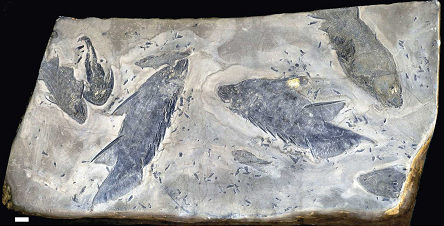
Ages ago I bragged to a colleague about my wonderful technique for rotting carcasses and reconstruction of nice clean skeletal material. He gave me a sideways glance and said, “where do you think fossils come from”. Yep, I have to admit that the technique is nothing new. Here are naturally prepped fishes from the Early Devonian – only the mineralised bits remain.
After a month or two you should end up with a clean skeleton that smells like soil. The time required is directly dependent on temperature, humidity and the amount of meat you left on the animal. The skeleton won’t be perfectly white – but the screen bag should contain all the small bones roughly in sequence. Now you carefully cut the bag a bit at a time (I’d suggest starting with the extremities and work inwards) and you can carefully sort the bones as you encounter them to make an accurate reconstruction. Set out the bones in sequence on paper towels and let the bones dry.
Some people use peroxide or chlorine bleach to whiten bones, but I don’t. Bones will deteriorate faster if bleached.
I use standard white wood glue to reassemble the skeleton. If you get something wrong, wood glue can be soaked in warm water and removed. Plasticene or silly-putty can be used to hold bones in position while the glue sets. This is a long-term project – not a snap-together kit. Glue a few bones together – wait a day for the glue to set. And repeat until the skeleton is assembled. You only need enough glue to bridge joints. Remove any excess glue so there are no drips.
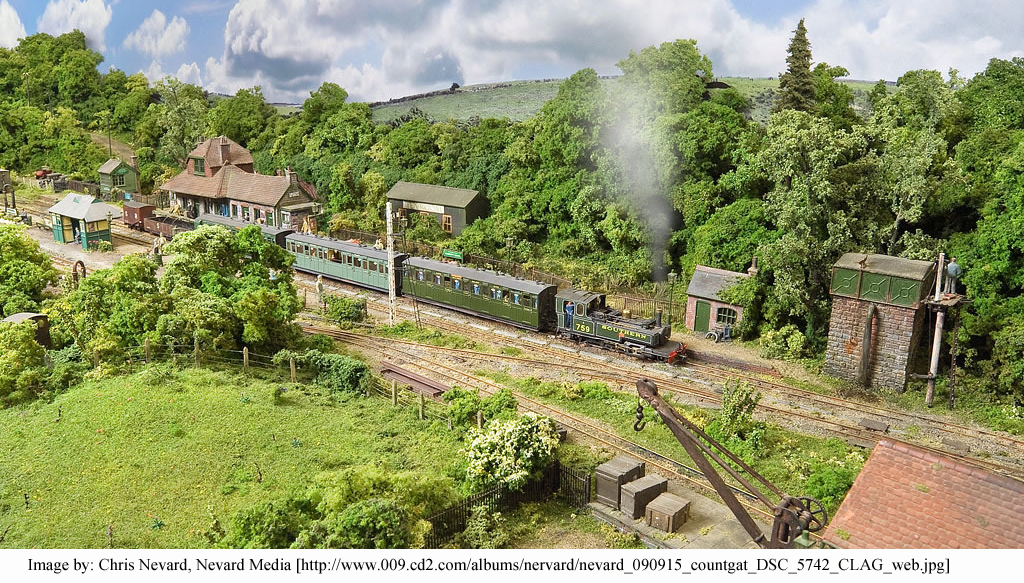
Once the skull or skeleton is complete, give it a spray with a 5 to 10% solution of white glue in water to seal the bones and prevent drying and cracking. This top-coat of dilute glue was an exaptation from my model railroading hobby (yes, I can tie skeletal preparation to one of my many hobbies). In model railroading, you spray dilute glue onto the scenery to keep bushes etc., in place. Here’s an example of exceptional railroad scenery where a miss-timed sneeze could destroy a forest (if things were not fixed in place).
Some people ask why I don’t use beetles or ants to clean display skeletons. Simply put, insects can scatter the smaller bones. Beetles are fine for museum specimens where the skeleton will be stored as disarticulated bones. But if you want to reconstruct the skeleton, you want to know where each tiny bone originated.
You can also soak a mostly-cleaned carcass in a water-filled aquarium and let the bones rot until clean [don’t put bones in an aquarium containing fish or any other aquatic pets]. To do this, you also put the carcass in a mesh bag, and then weigh it down. Sometimes the gas produced will cause a carcass to float – and then any bones will be displaced and you’ll have to search for them. It also will be very difficult to reassign finger bones (phalanges) to their correct position. The downside to this technique is the smell, and while an aquarium filter can reduce the odour, eventually you will have to pick bones from the stinky pink sludge which accumulates on the bottom of the aquarium. These bones can be rinsed in freshwater and then left to dry – and eventually the smell is not so noticeable.
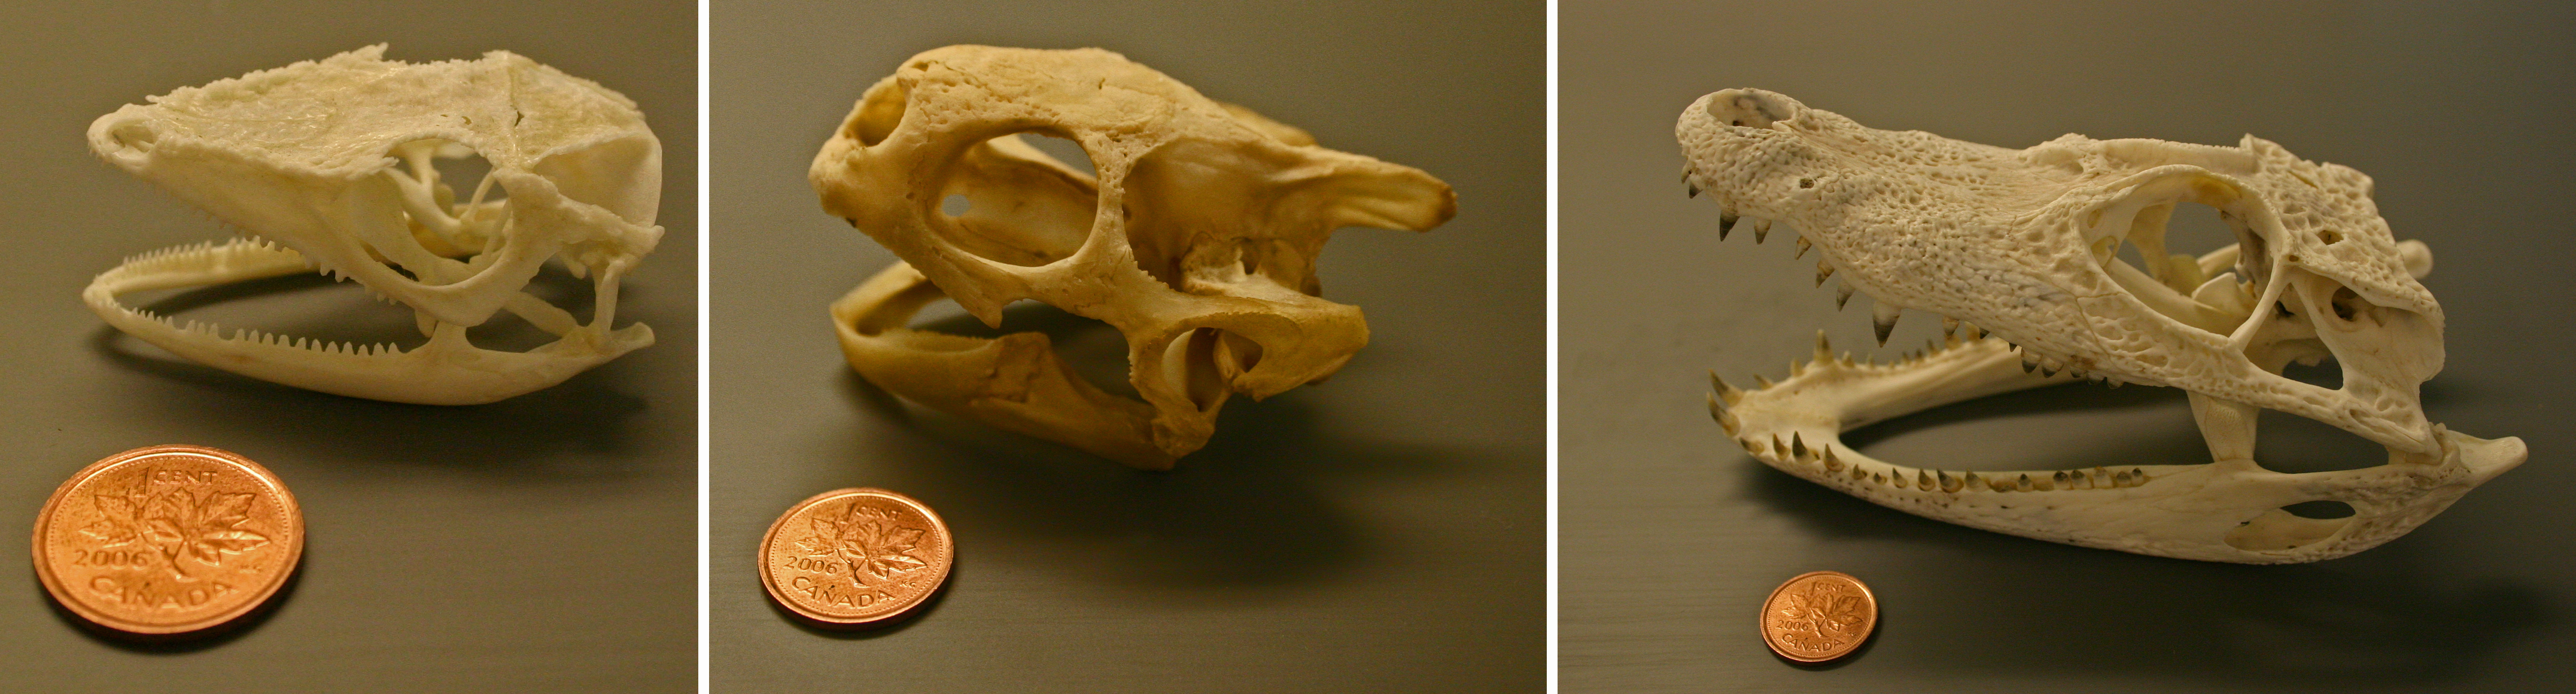
The skulls below (Cuban Anole, Red-footed Tortoise and Spectacled Caiman) were prepared in an aquarium – any loose bits were glued back together. They did turn out really nice, but you do need to be prepared for the smell. The Anole skull fell completely apart and had to be glued back together: there were 6 bones just for the jaws, and you have to position the bones of the palate relative to the rest of the skull – it is quite a 3D puzzle.
I don’t know of a step-by-step instruction manual to reconstructing skeletons – they are not model kits after all – so you do have to do some research into anatomy and figure out how all the parts fit together. The up-side to assembling a fully disarticulated rat skeleton is that you can position your newly cleaned rat in a dynamic pose – climbing, running, or working a computer’s mouse…